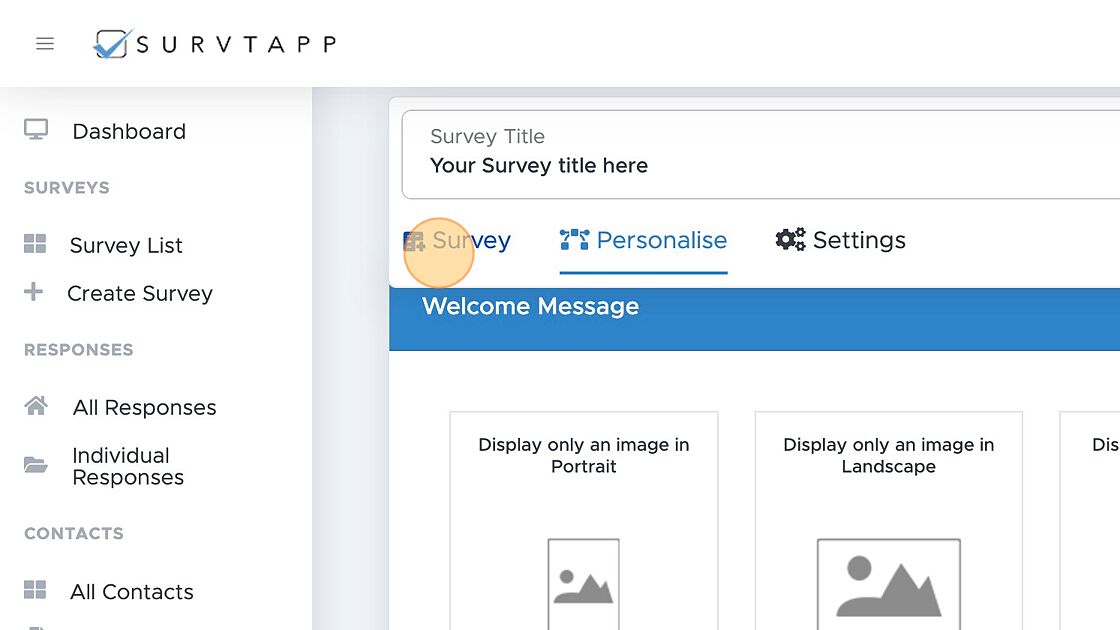
1. Navigate to Survey
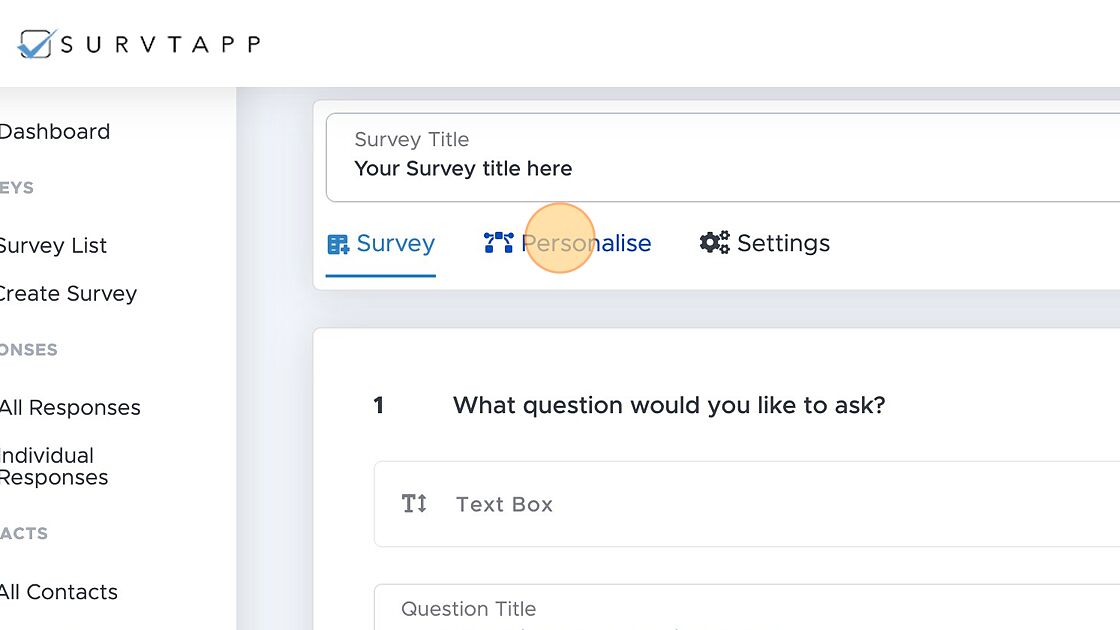
2. Click "Personalise"
3. Click "Welcome Message"
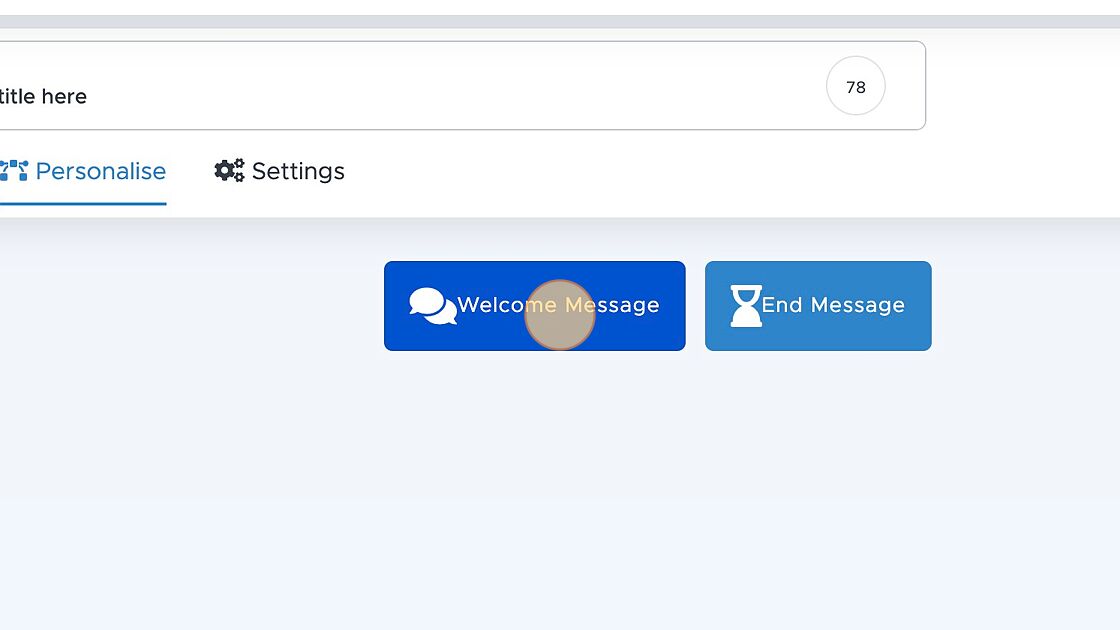
4. How to Add Welcome Message Type 5
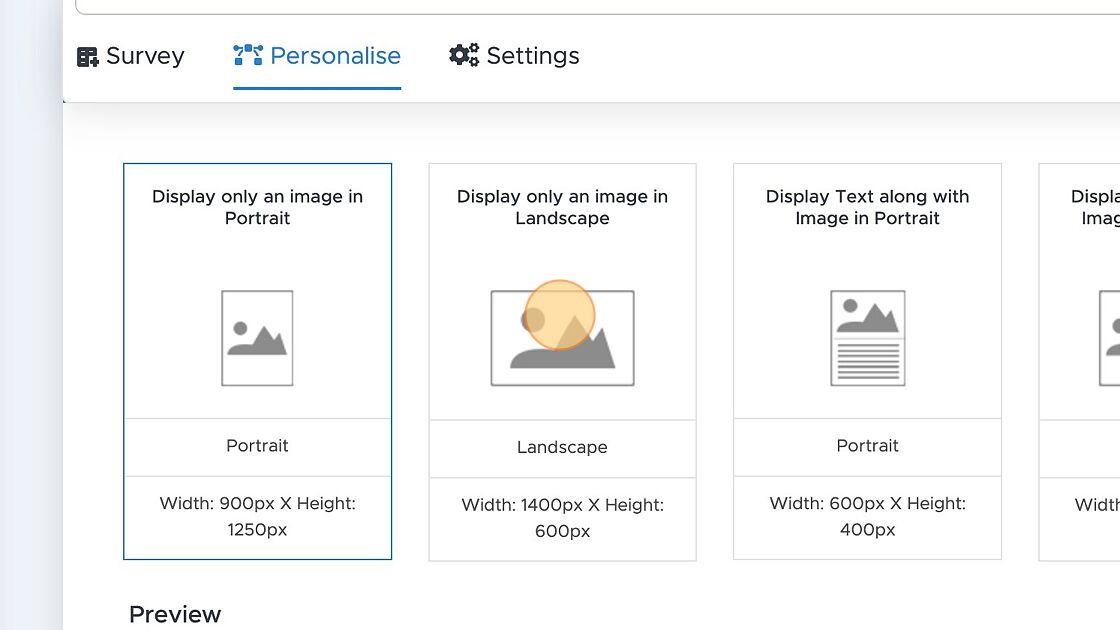
5. Click Welcome Message Type 1 "Display only an image in Portrait"
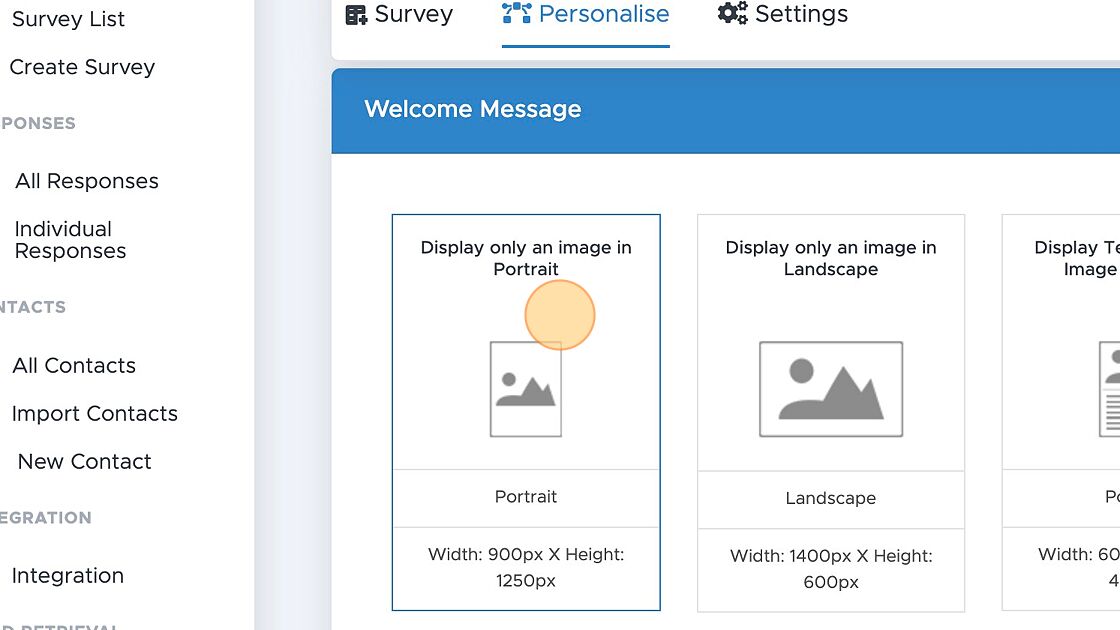
6. Click "Browse" button to upload image options
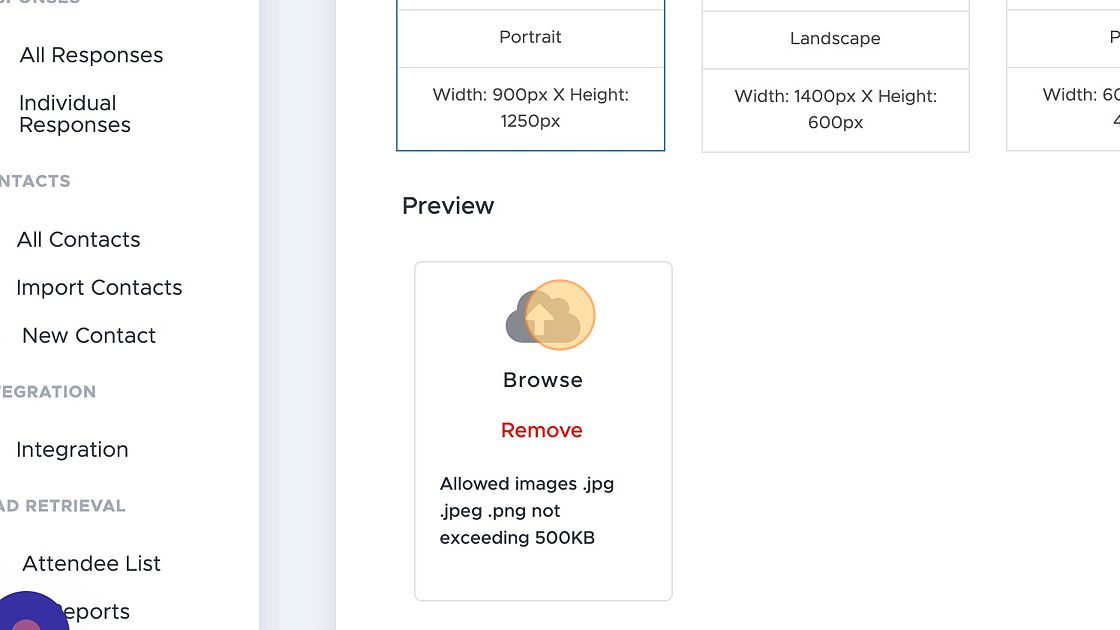
7. Click here.
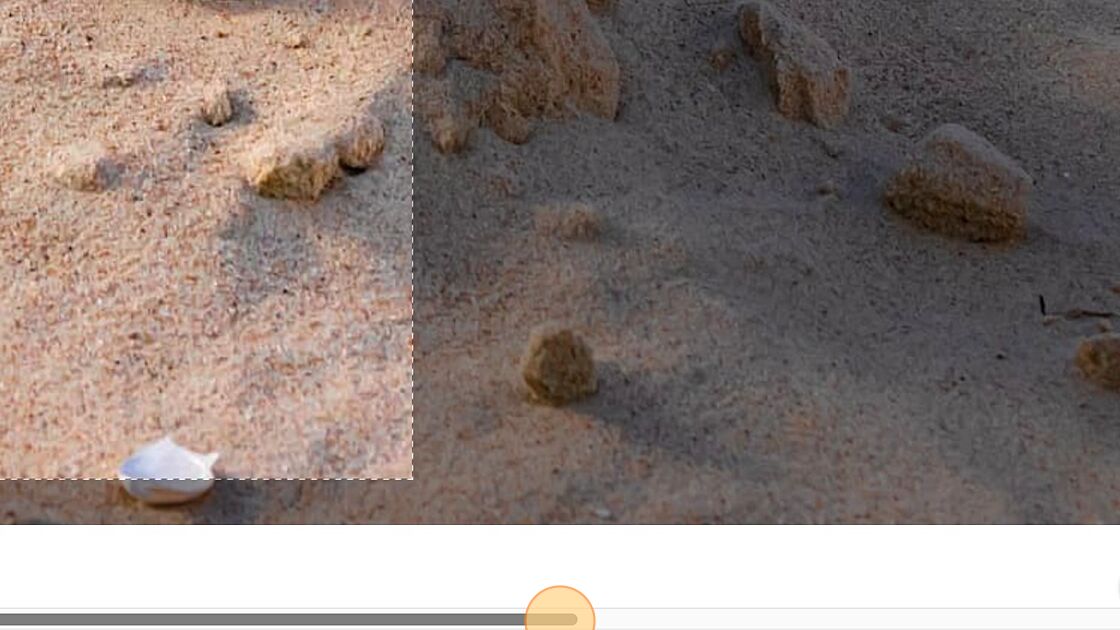
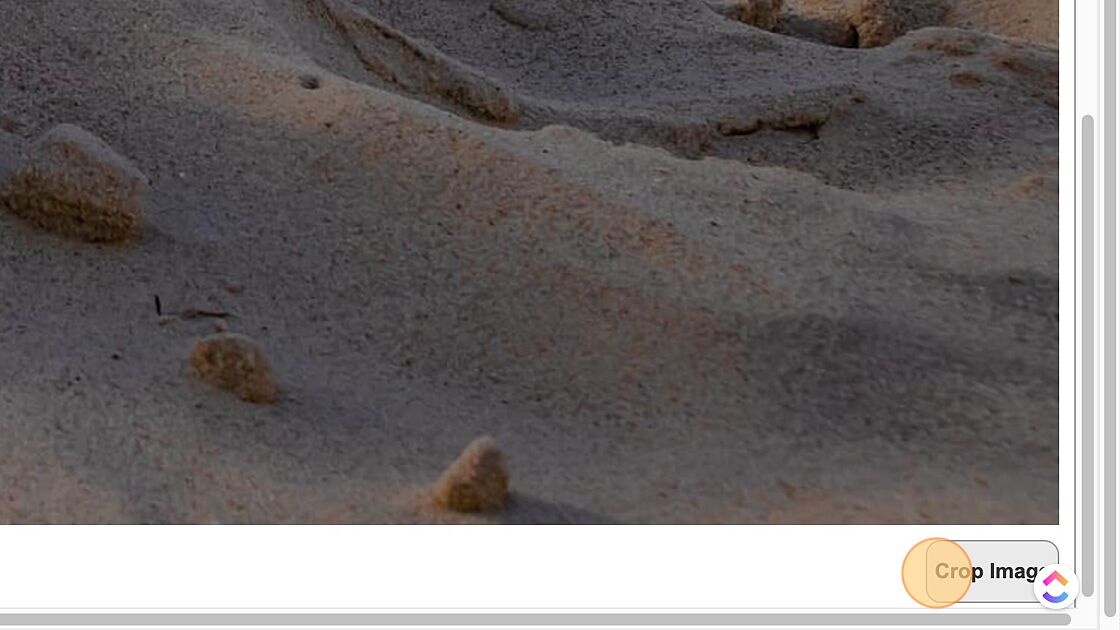
8. Click "Crop Image" Button.
9. Click Welcome Message Type 2 "Display only an image in Landscape"
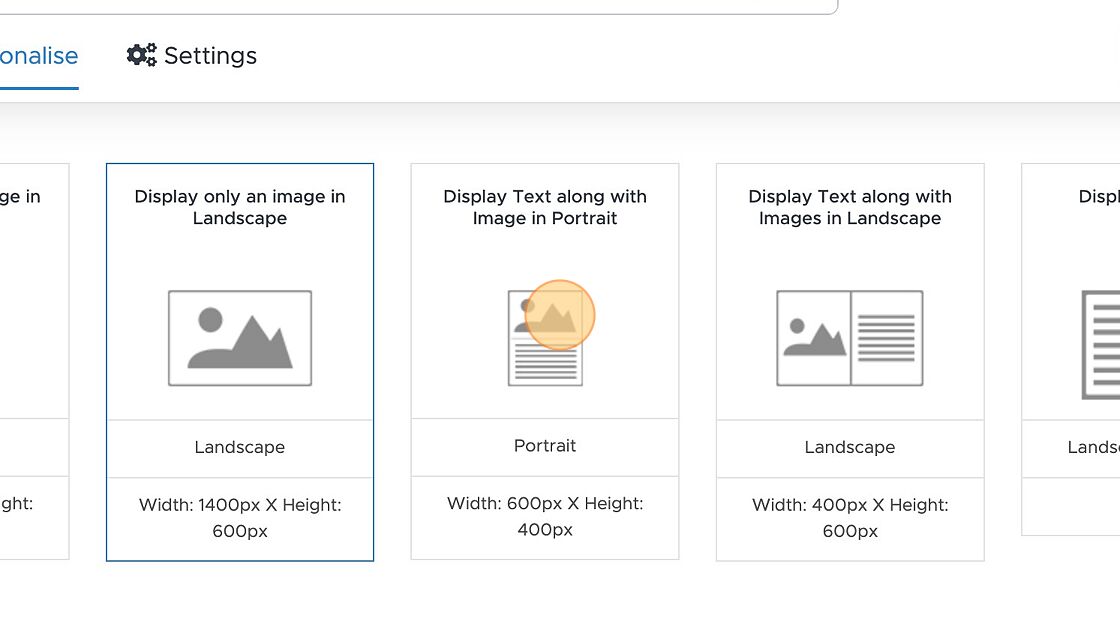
10. Click Welcome Message Type 3 "Display Text along with Image in Portrait"
11. Click Welcome Message Type 4 "Display Text along with Images in Landscape"
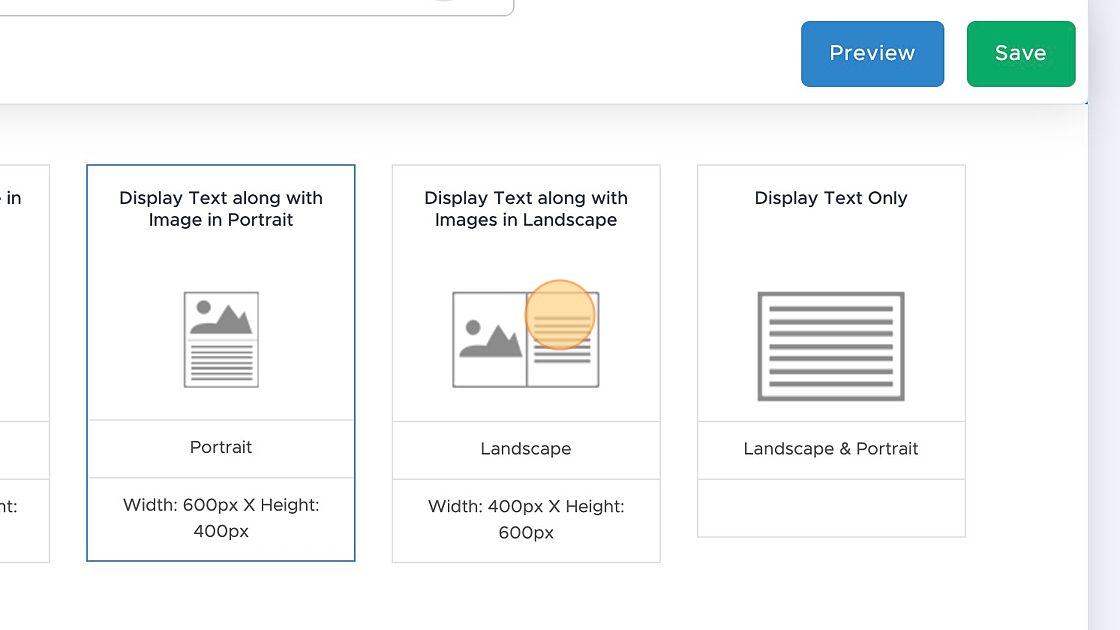
12. Click Welcome Message Type "Display Text Only"
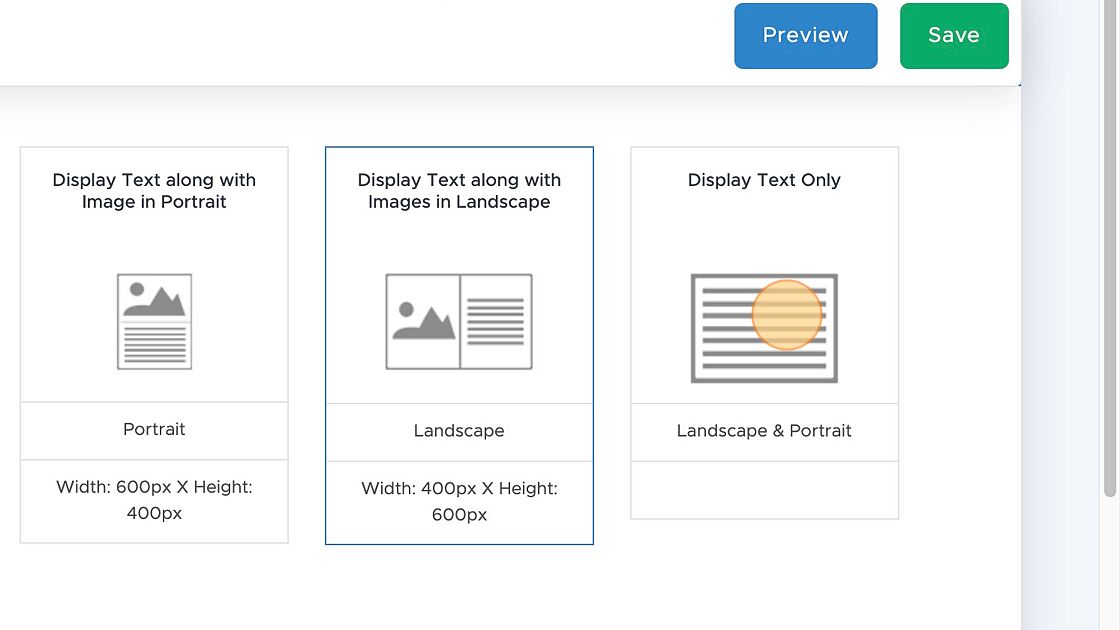
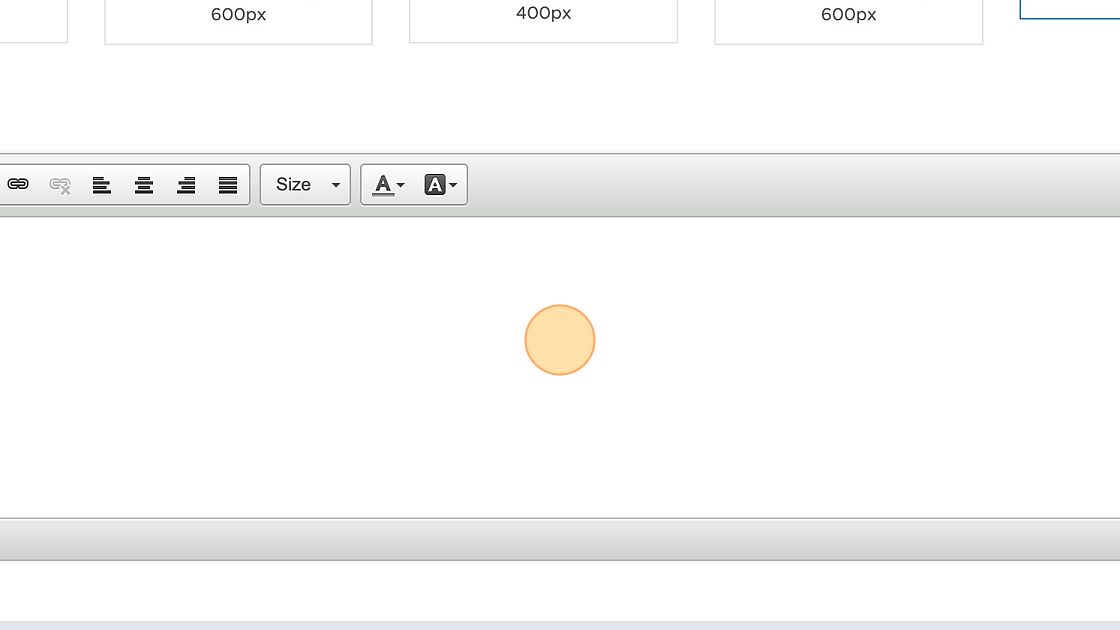
13. Click "Editor"
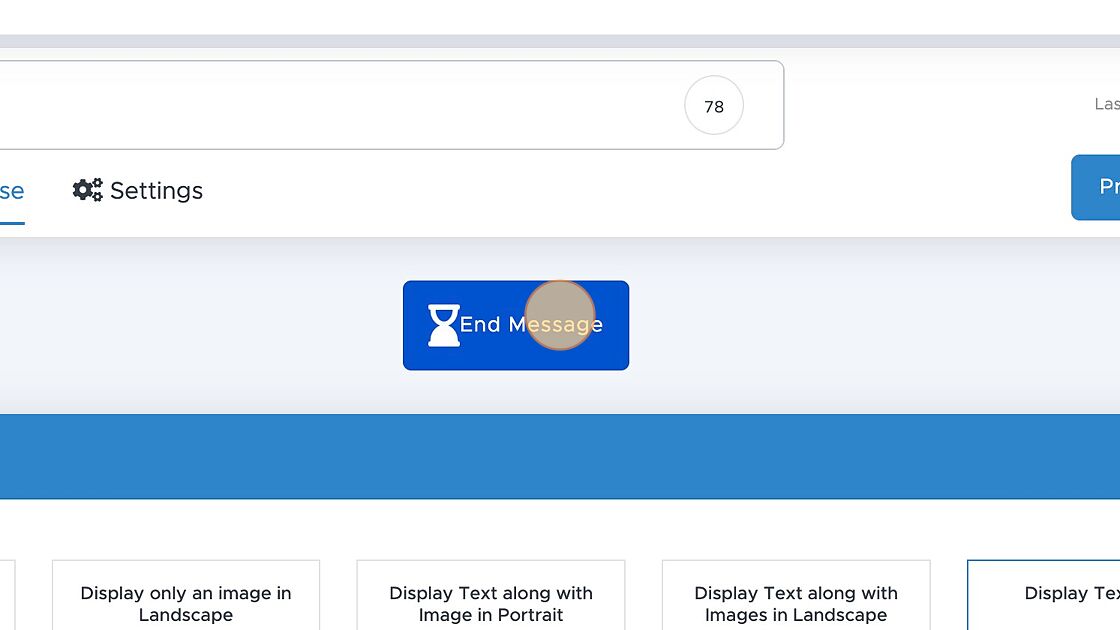
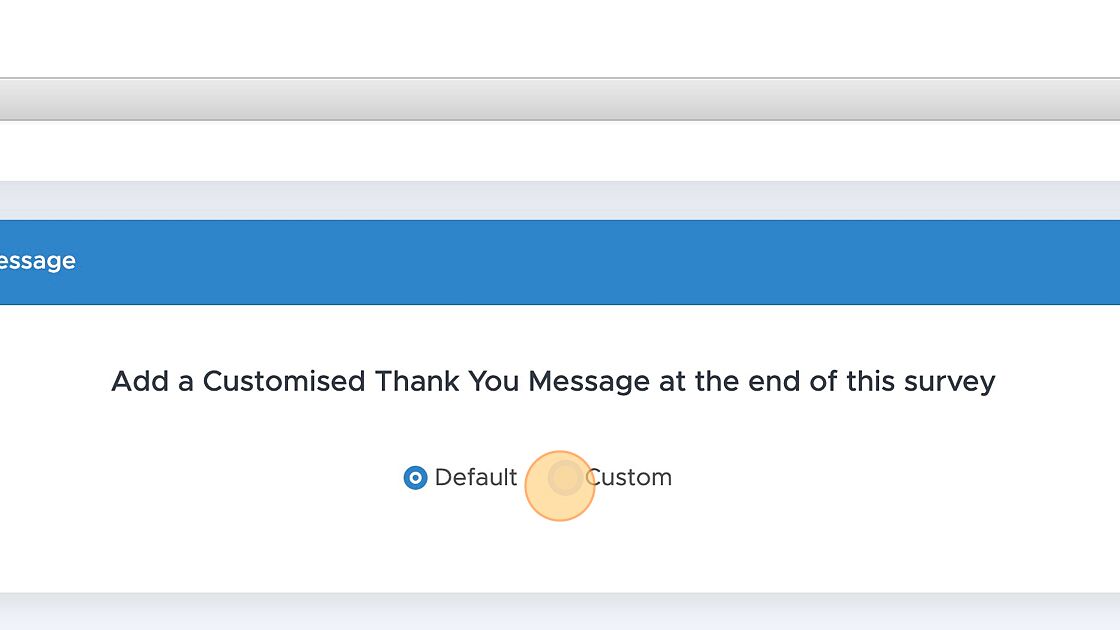
14. Click "End Message"
15. Click the "Custom" field.
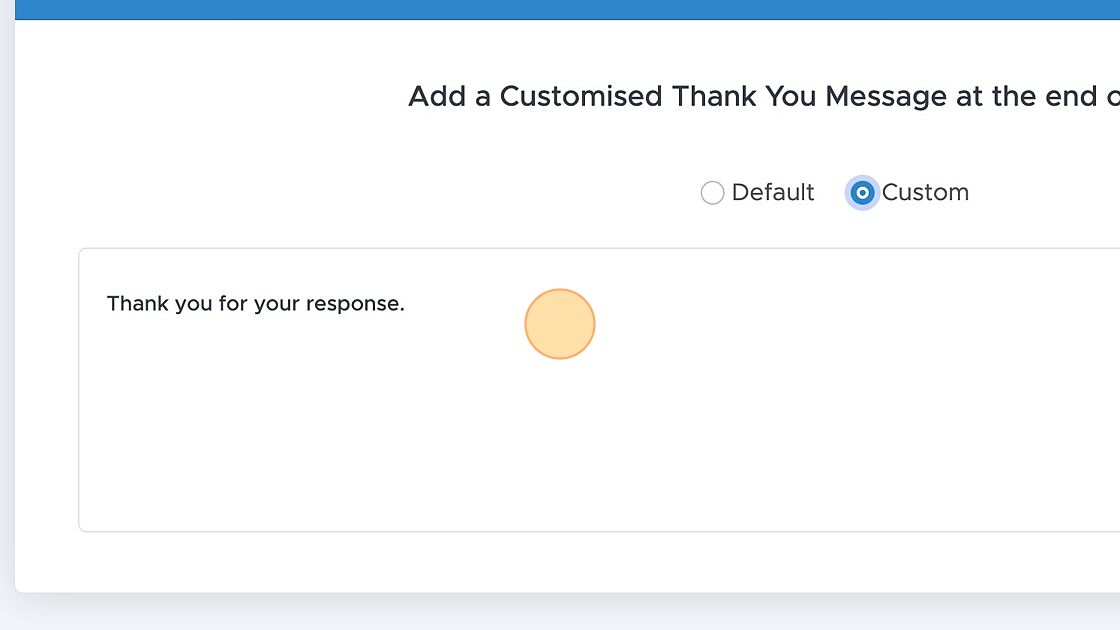
16. Click the "Enter Text Here" field.
17. Click "Survey"
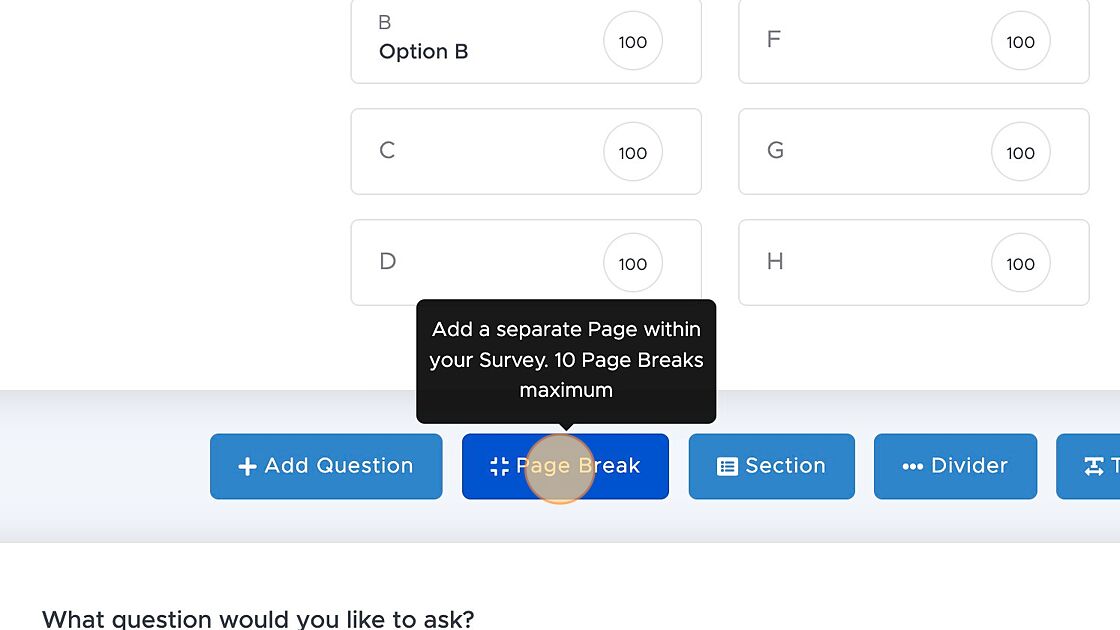
18. Click "Page Break"
19. Click "Section"
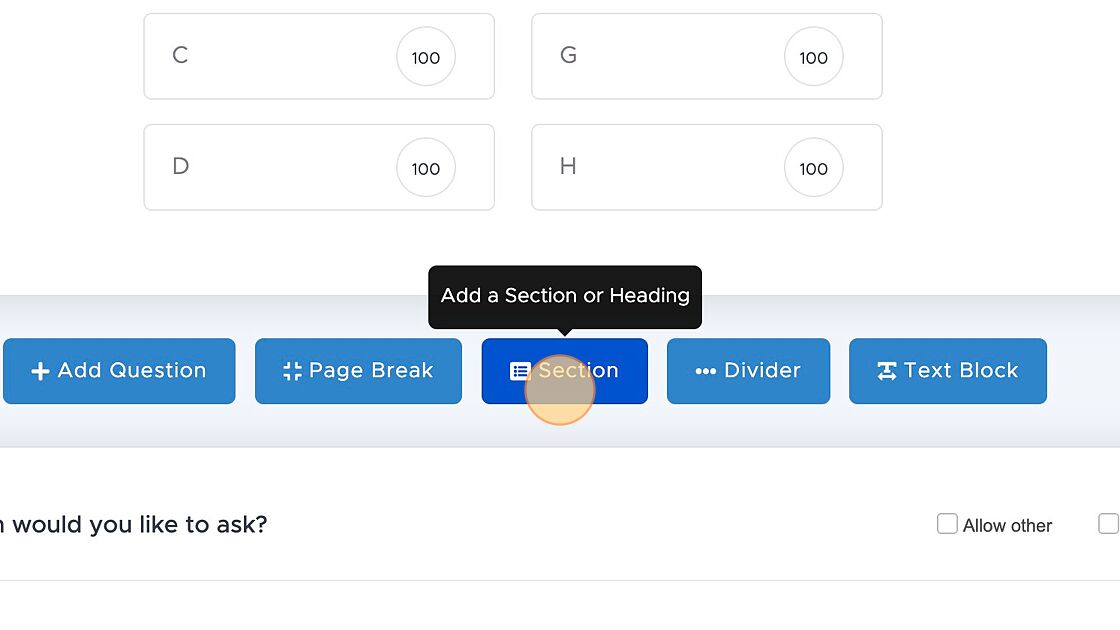
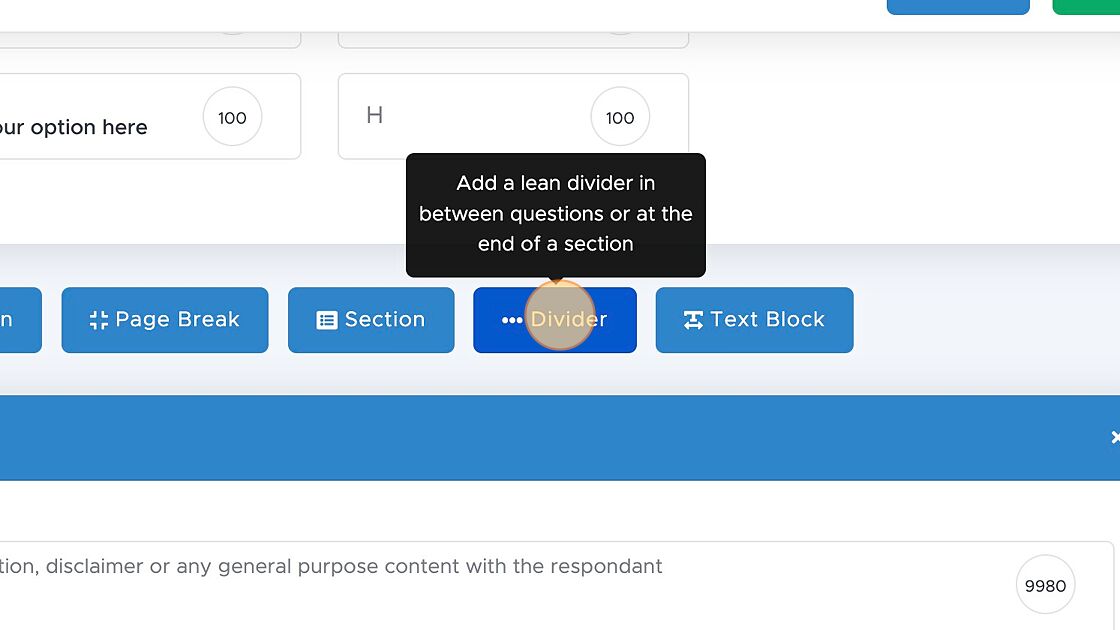
20. Click "Divider"
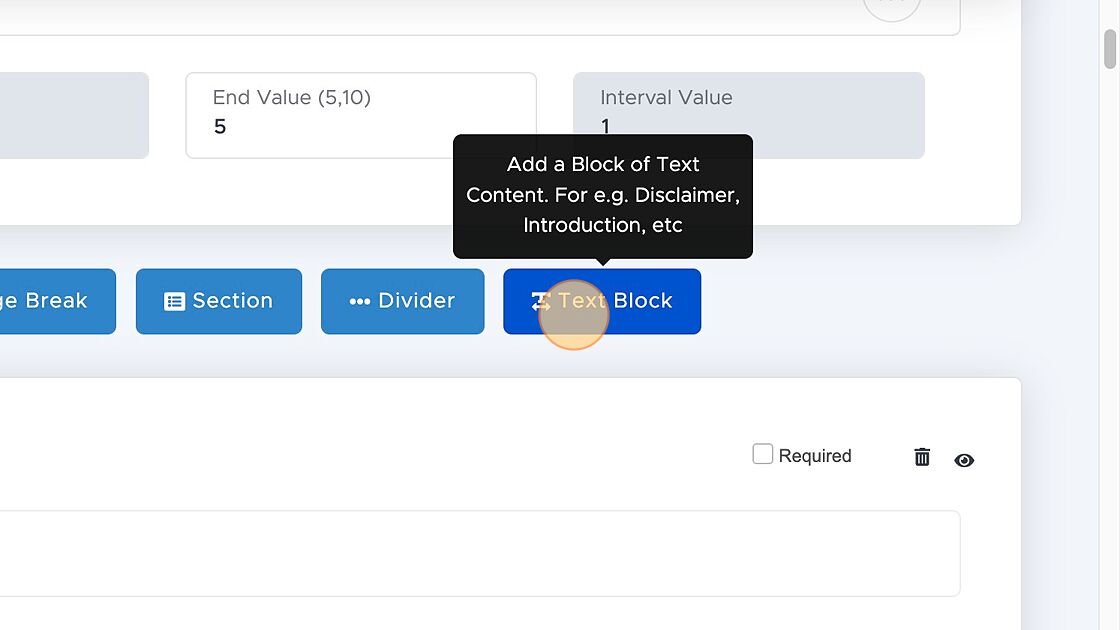
21. Click "Text Block"
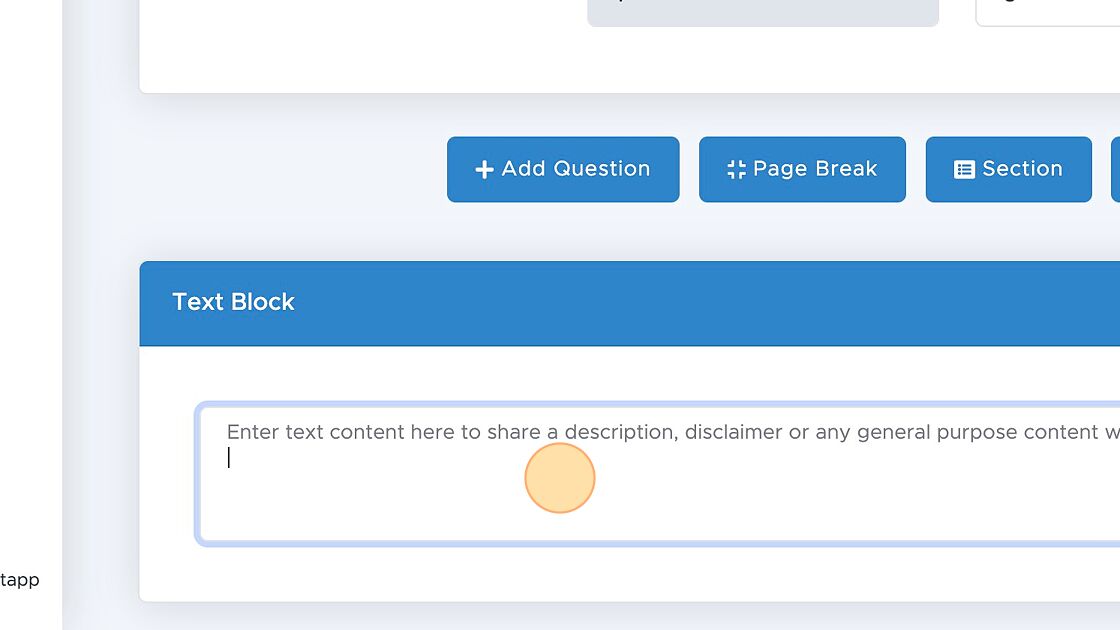
22. Click the "Enter text content here to share a description, disclaimer or any general purpose content with the respondant" field.
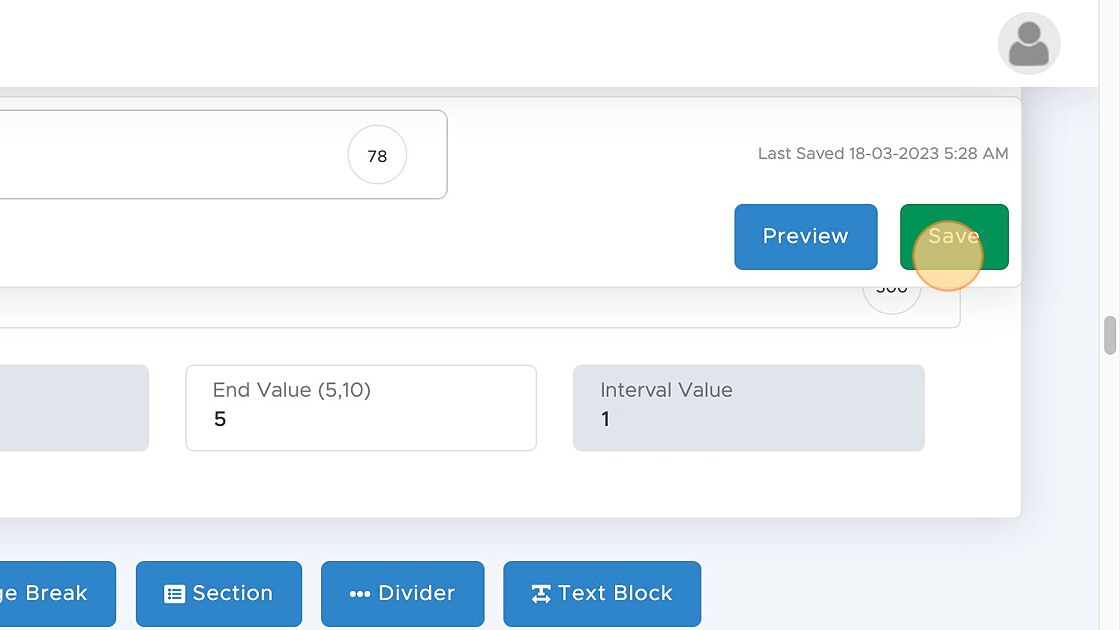
23. Click "Save"
Support Index
- How to create a Simple Survey
- How to Personalize a Survey
- How to handle Survey SEO Settings
Creating Surveys
- How to change Survey Schedule
- How to Assign a Survey to an Agent or Device
- How to apply Survey Logic
- How to Embed a Survey
- How to Automate Trigger Emails
- How to Activate, Deactivate and Archive a Survey
Survey Settings & Customizations
- Using a web link
- Using the Mobile App
Collecting Responses
- How to view all responses
- How to view individual responses
Viewing Reports & Data
- Adding Users
- Manage Billing
- Adding Users and Devices
- Adding a Logo
- GDPR Compliance
- Adding Google Analytics
Managing your Survtapp Account
- Create a Lead Retrieval Survey
- Import Attendee List
- Export Attendee QR Codes
- Lead Retrieval Reports
- Deleting an Attendee
Use as a Lead Retrieval App
- How to Assign a Lead Score to a Response
- How to Download Lead Score Data
